
 |
 |
|
 |
|
Replacing (Changing) the Rear Brake Pads

Want to avoid crippling garage bills?
As a DIY mechanic you could beat the system.

Rear brake pads don't wear
as fast as the front ones, but after 3 sets of front pads,
rears finally gave out (They were worn out!), so we have to replace them.
The rear
wheels are off the ground,
so using the handbrake and leaving the car in gear won't stop it from rolling
away!
Take extra care and use wheel chocks!
[chock= a block or wedge of wood]
NOTE
There are lots of
different cars and brakes and things do vary,
even when it comes to brakes, yes.

![]()
Things you will need
|
|
|
|
|
|
|
|
|
|
|
|
|
|
|
|
|
|
|
|
|
|
|
|
|
First aid kit
|
|
|
Tools, Wrenches, Jacks …
Lyftanordningar.... pallbockar, garagedomkrafter mm på
engelska, ja
Other
sites
where you may find
suitable
words, phrases etc...

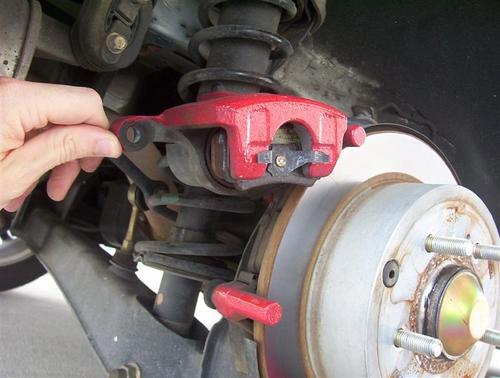
Raise car and remove road wheel ...
1) Remove your wheel and remove the lower bolt on the
caliper
2) Once you have removed the bolt you can raise the caliper
up
3) Take the front pad off by squeezing the clips
4) Next remove the rear pad. It is on the other side of the
rotor.
You just take your screwdriver and gently pry it off
(on the driver's side there
is (could/should be...)
a little clip that is on the pad for the squealer,
just
remove that and put it on your new pad)
5) Next take the "brake separator" and place it like it is
in the picture.
http://registry.evolutionm.net/garage/29024/images/100_2033__medium_-xl.jpg
Slowly depress the piston until it is flush (until
you cannot turn it anymore).
Make SURE you do this SLOWLY!
6) Take the clips and plates that are on your old
pads and put them as they were onto your new pads.
7) Then just put everything back together and do the next side.
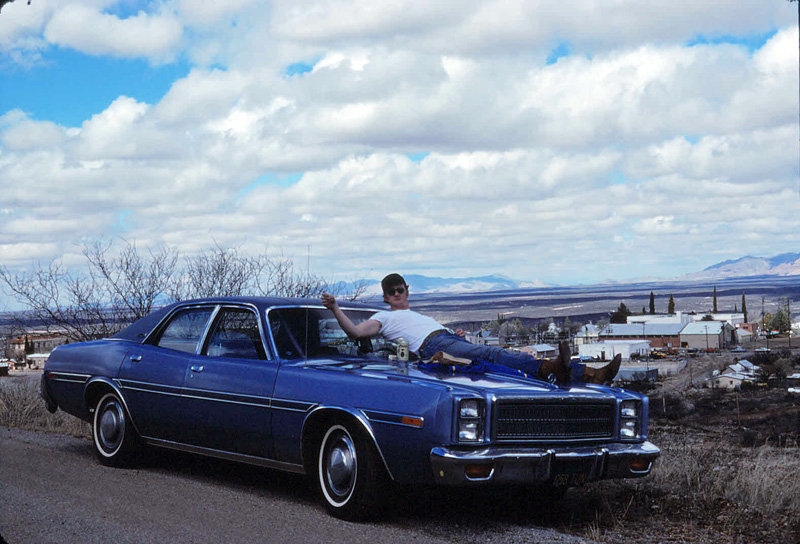
Southern Arizona
(1978)

DIY = Do It Yourself
NOTE
There are lots of
different cars and brakes
and things do vary,
even when it comes to brakes, yes.


